> ## Documentation Index
> Fetch the complete documentation index at: https://docs.salesnip.com/llms.txt
> Use this file to discover all available pages before exploring further.
# Quick start: Hosted Page
> Learn how to integrate SaleSnip into your website using a hosted page.
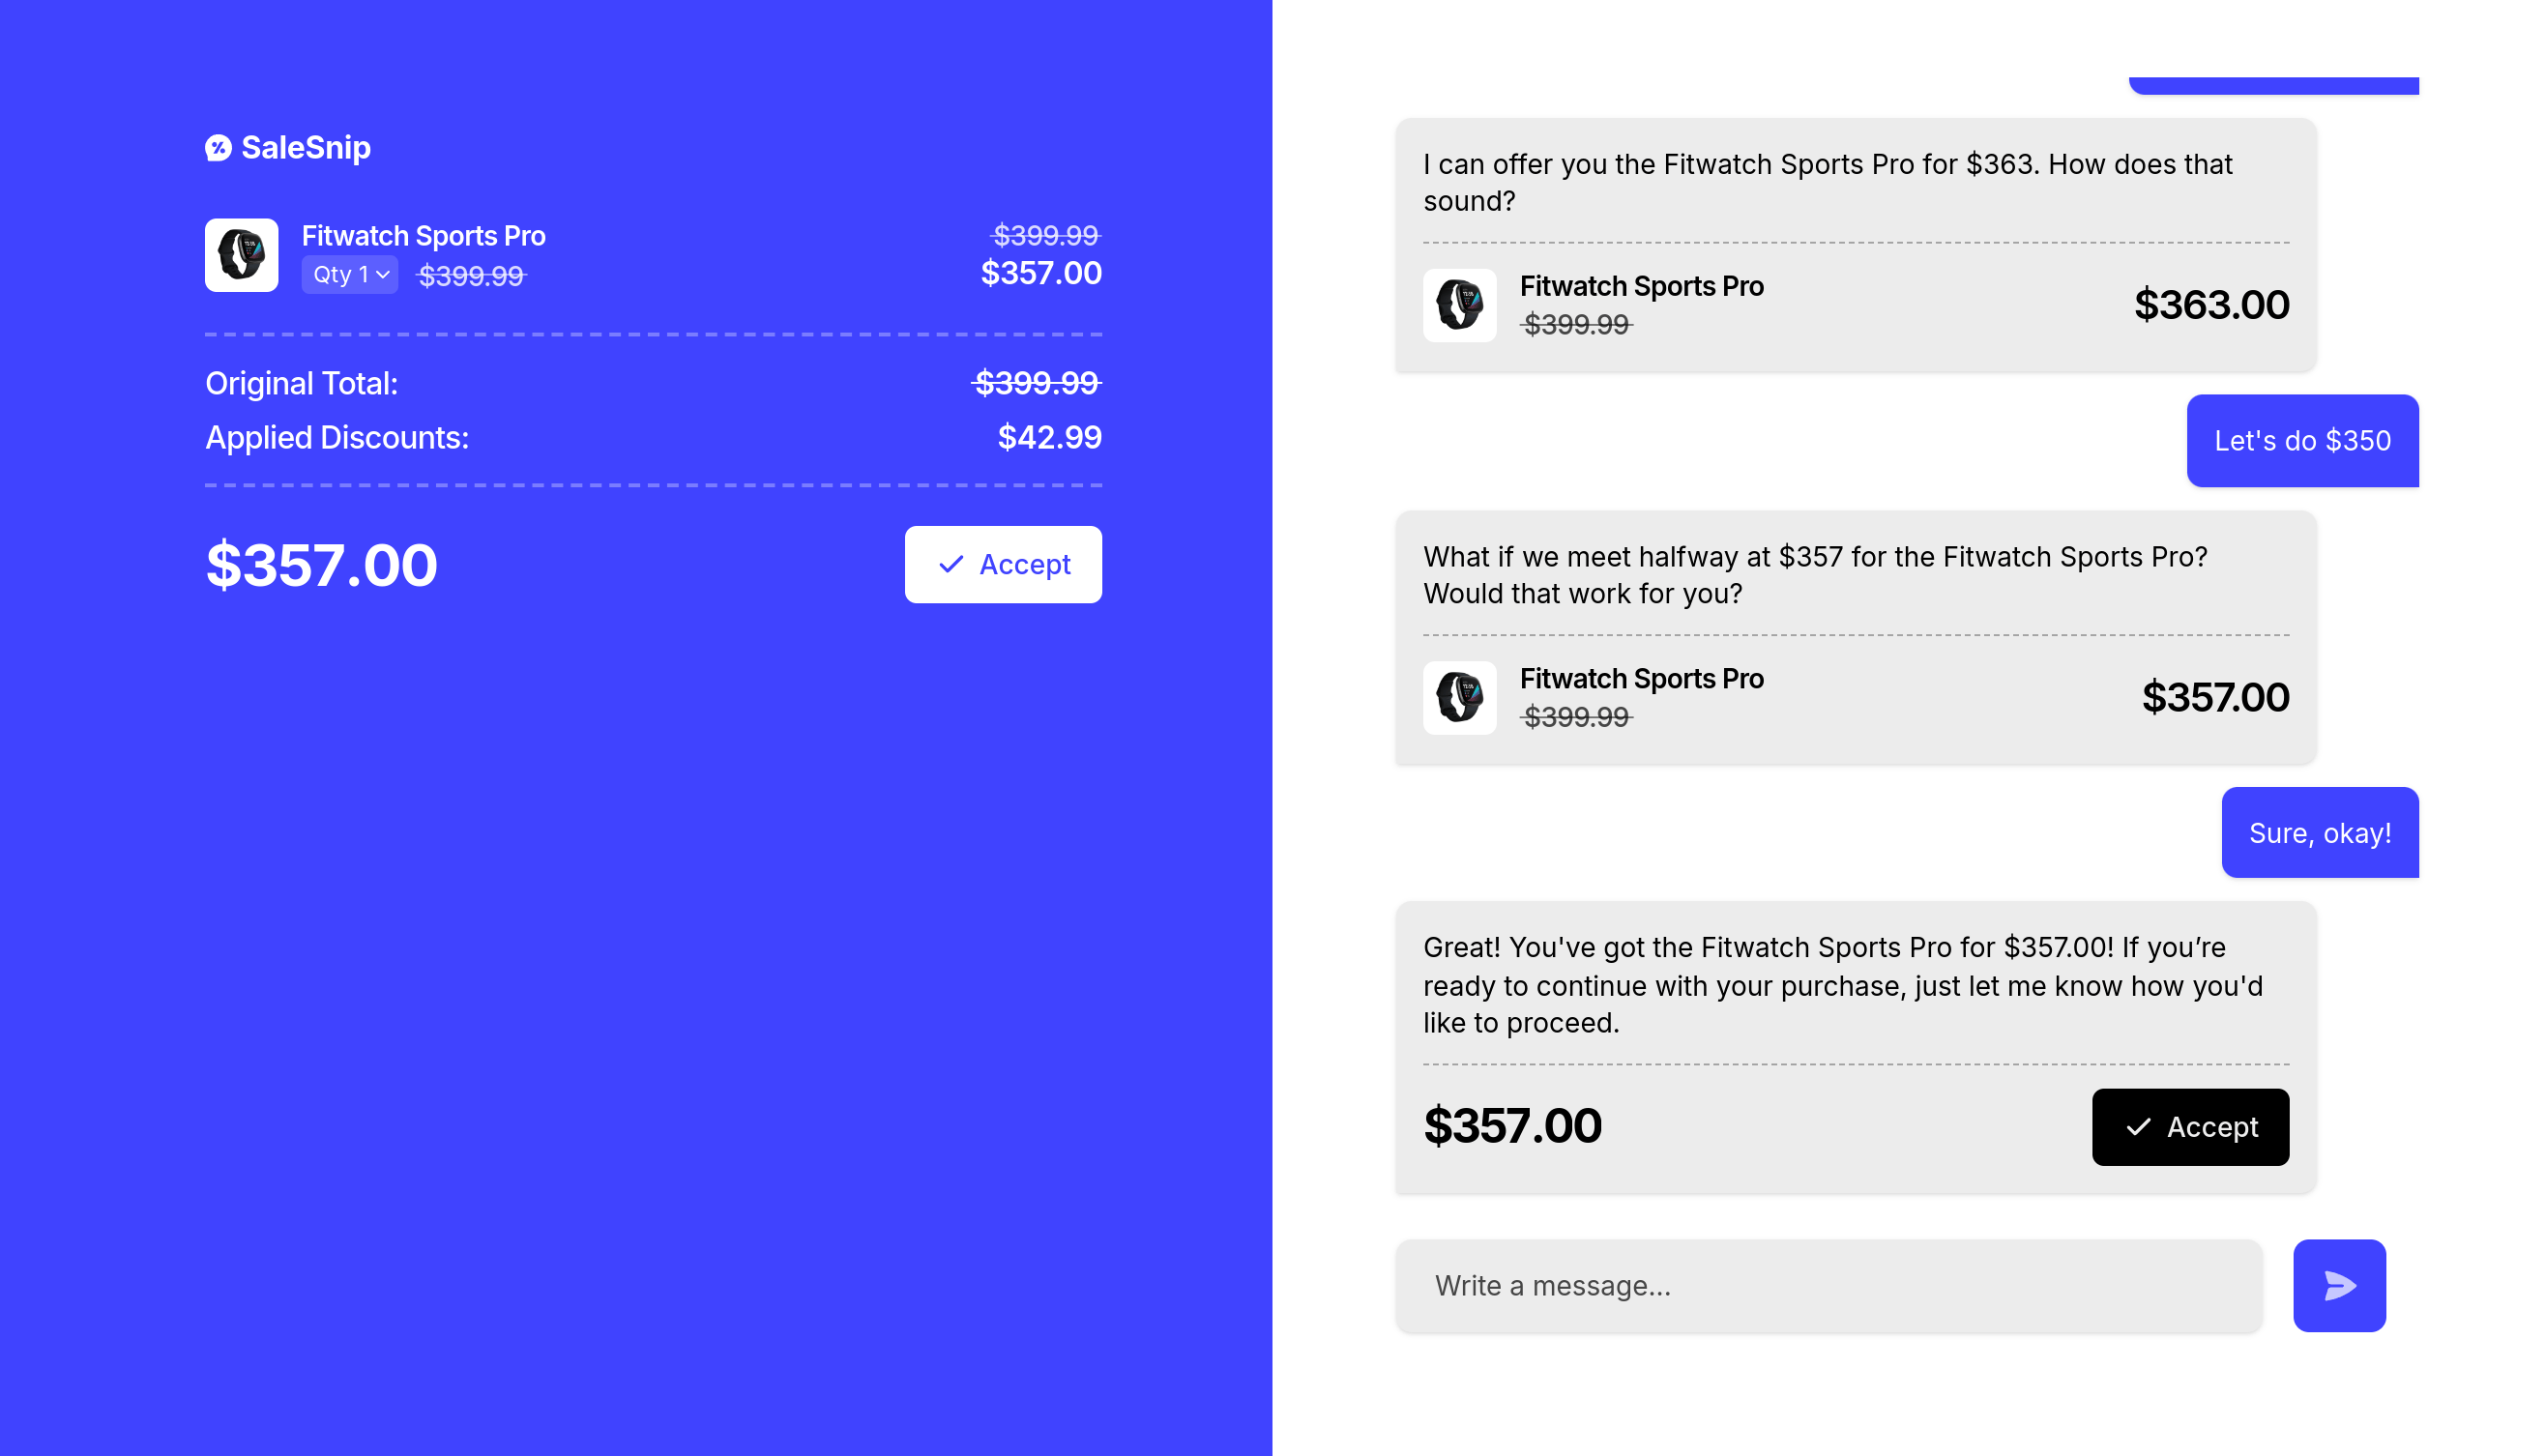 ## 1. Create a negotiation session
### 1.1. Create a Negotiation API Route
Create an API route to start a SaleSnip session using the SaleSnip API.
```javascript https://api.example.com/negotiate theme={null}
const config = {
// TODO: Replace with your project id
projectId: '[YOUR_PROJECT_ID]',
currency: 'USD', // The currency code for the negotiation.
callbacks: {
// The URL to redirect to after successfully completing the session.
// The {SESSION_ID} placeholder will be automatically replaced.
success: "https://example.com/callback/salesnip/{SESSION_ID}"
},
products: [
{
id: 'product_id', // Your internal product ID
name: 'Product Name', // Product name displayed to the user
description: 'Product Description', // Optional, a short product description
image: 'https://example.com/product.png', // Optional, a URL to the product image
price: {
initial: 100.00, // The original price of the product per unit
minimum: 80.00, // The minimum price of the product that can be negotiated per unit
},
},
],
};
const session = await axios.post('https://api.salesnip.com/v1/sessions', config, {
headers: {
'Content-Type': 'application/json',
'X-Api-Key': process.env.SALESNIP_API_KEY,
},
});
```
Ensure this code is run server-side only to protect your API key.
You find the full API reference of this SaleSnip API route [here](/api-reference/sessions/create-a-new-session).
### 1.2 Redirect the User
After creating the session, the SaleSnip API will return a response containing a `url` field. Redirect the user to this URL to start the negotiation process.
## 2. Start the checkout or payment
### 2.1 Create a Checkout API Route
Create an API route that loads the session data from SaleSnip and starts the checkout or payment process.
```javascript https://api.example.com/checkout theme={null}
const session = await axios.get(`https://api.salesnip.com/v1/sessions/${req.body.session}`, {
headers: {
'X-Api-Key': process.env.SALESNIP_API_KEY,
},
});
// TODO: Checkout all products in data.products with their negotiated price (data.products[number].price.current)
// Make sure to multiply the unit price by the quantity to get the total price.
```
Ensure this code is run server-side only to protect your API key.
You find the full API reference of this SaleSnip API route [here](/api-reference/sessions/get-a-single-session).
### 2.2 Create the Callback Page
Create a simple callback page to handle the session completion. This should call the checkout API route to start the checkout process.
## 1. Create a negotiation session
### 1.1. Create a Negotiation API Route
Create an API route to start a SaleSnip session using the SaleSnip API.
```javascript https://api.example.com/negotiate theme={null}
const config = {
// TODO: Replace with your project id
projectId: '[YOUR_PROJECT_ID]',
currency: 'USD', // The currency code for the negotiation.
callbacks: {
// The URL to redirect to after successfully completing the session.
// The {SESSION_ID} placeholder will be automatically replaced.
success: "https://example.com/callback/salesnip/{SESSION_ID}"
},
products: [
{
id: 'product_id', // Your internal product ID
name: 'Product Name', // Product name displayed to the user
description: 'Product Description', // Optional, a short product description
image: 'https://example.com/product.png', // Optional, a URL to the product image
price: {
initial: 100.00, // The original price of the product per unit
minimum: 80.00, // The minimum price of the product that can be negotiated per unit
},
},
],
};
const session = await axios.post('https://api.salesnip.com/v1/sessions', config, {
headers: {
'Content-Type': 'application/json',
'X-Api-Key': process.env.SALESNIP_API_KEY,
},
});
```
Ensure this code is run server-side only to protect your API key.
You find the full API reference of this SaleSnip API route [here](/api-reference/sessions/create-a-new-session).
### 1.2 Redirect the User
After creating the session, the SaleSnip API will return a response containing a `url` field. Redirect the user to this URL to start the negotiation process.
## 2. Start the checkout or payment
### 2.1 Create a Checkout API Route
Create an API route that loads the session data from SaleSnip and starts the checkout or payment process.
```javascript https://api.example.com/checkout theme={null}
const session = await axios.get(`https://api.salesnip.com/v1/sessions/${req.body.session}`, {
headers: {
'X-Api-Key': process.env.SALESNIP_API_KEY,
},
});
// TODO: Checkout all products in data.products with their negotiated price (data.products[number].price.current)
// Make sure to multiply the unit price by the quantity to get the total price.
```
Ensure this code is run server-side only to protect your API key.
You find the full API reference of this SaleSnip API route [here](/api-reference/sessions/get-a-single-session).
### 2.2 Create the Callback Page
Create a simple callback page to handle the session completion. This should call the checkout API route to start the checkout process.